
So you’re renting out your office space, but don’t have the budget for a professional interior photographer. Good news: you don’t need expensive equipment to take good photos! Phone cameras have evolved to capture images with a quality that rivals DSLRs from years ago. We’ve come up with a few essential tips for taking a good photo of your office space with the intention to list them online or make your photos Instagrammable.
Before We Begin: How to Make the Most of Your Camera

Before we start shooting, we suggest tinkering with a few of your camera settings. This is optional, but it helps to explore your camera’s options a little further. We’re not requiring you to shoot in manual, so don’t get overwhelmed!
- Image quality: go for the highest possible image quality your camera can take. Don’t forget to allot enough space for high quality images.
- Grid: Turn on the grid. These guide lines help you compose an image better and level your vertical/horizontal elements like walls, desks, etc.
- Aspect ratio: This stands for the length-to-width ratio of your images regardless of size - basically how “square” or “wide” your images will look. The standard choices usually range from 1:1 (square) up to 16:9 (HDTV). We recommend 4:3 ratio as it’s the default ratio of most cameras hence a lot of listing pages and websites cater to it.
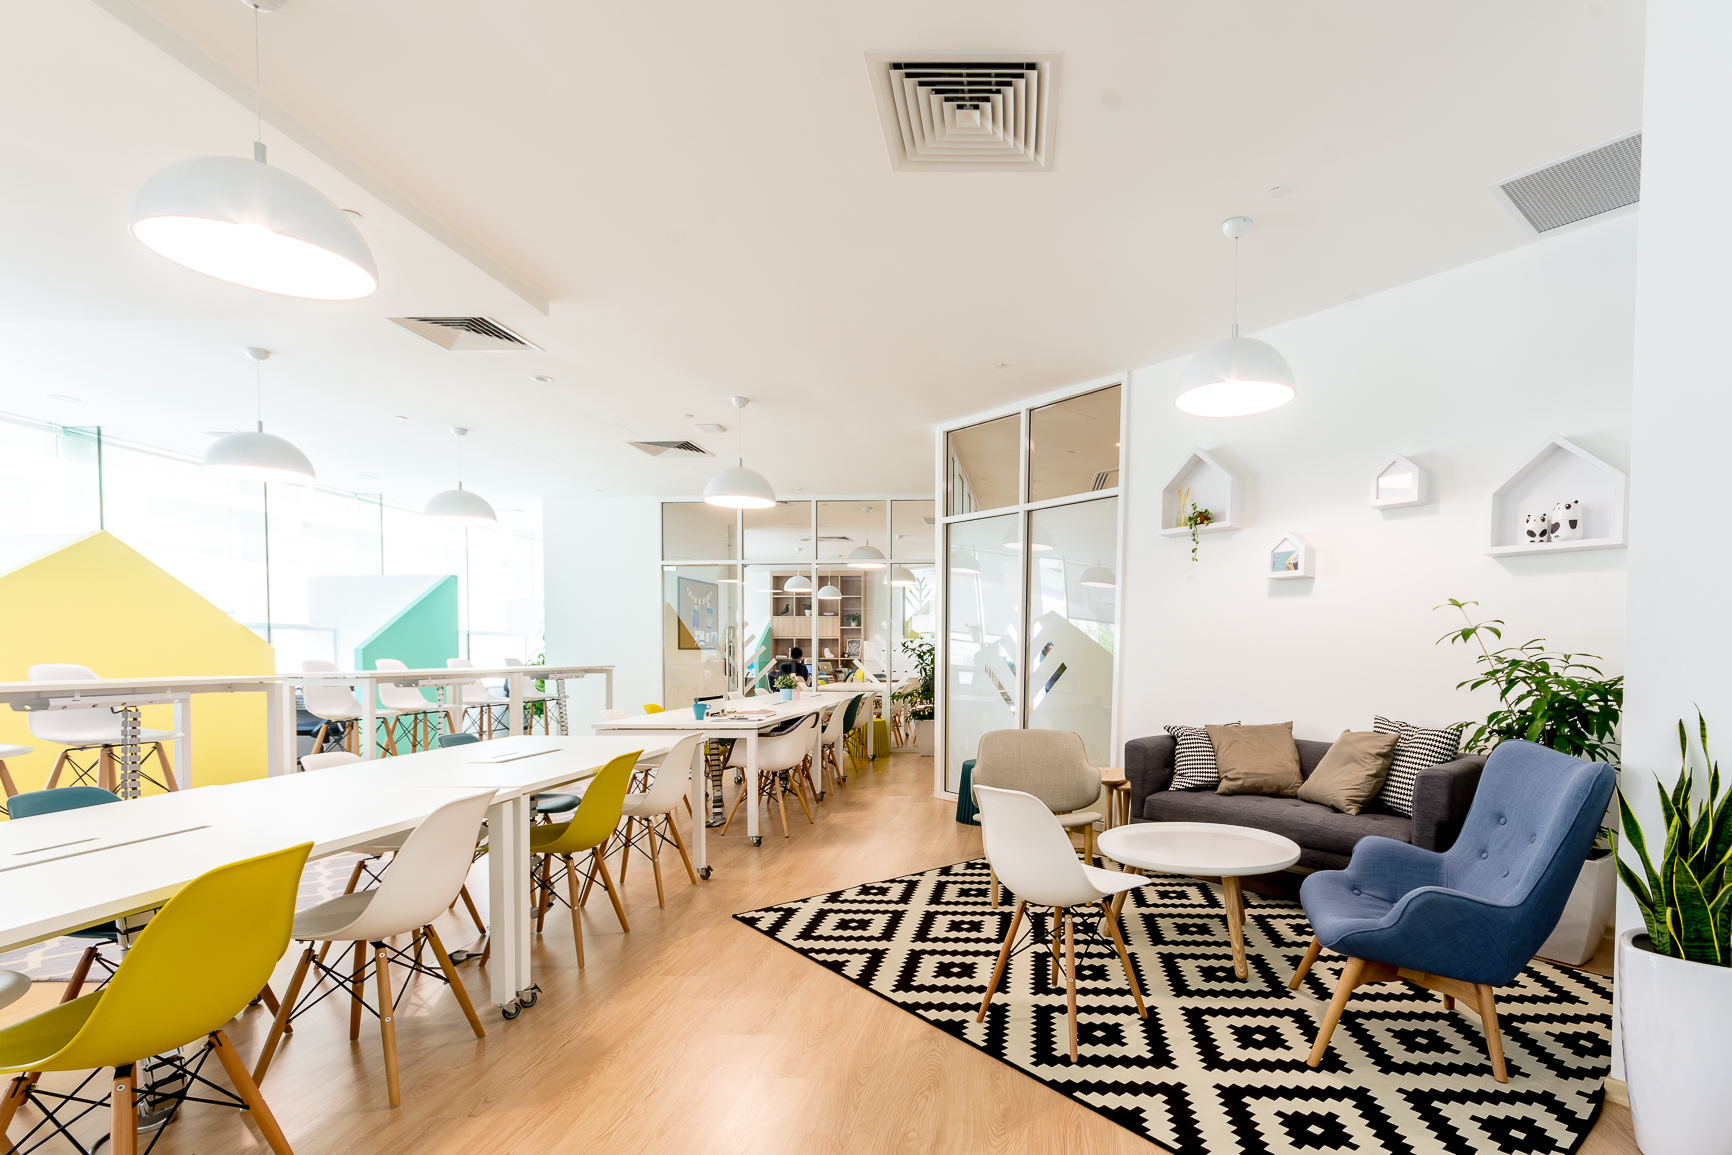
Clean Up and Declutter

While Photoshop will be able to remove that stray paper clip or the knotted bunch of wires peeking out from behind screen, it still helps to eliminate that extra editing time by keeping your space clean. Empty the trash bins, set all the stacks of paper and gadgets parallel to each other, hide the cables, straighten any crooked lines, and get rid of dead plants. Additionally, we sometimes don’t see what’s wrong with the subject until we’ve already taken the photo, so it helps to review your images and tweak the workspace as or before you shoot.
Go Green
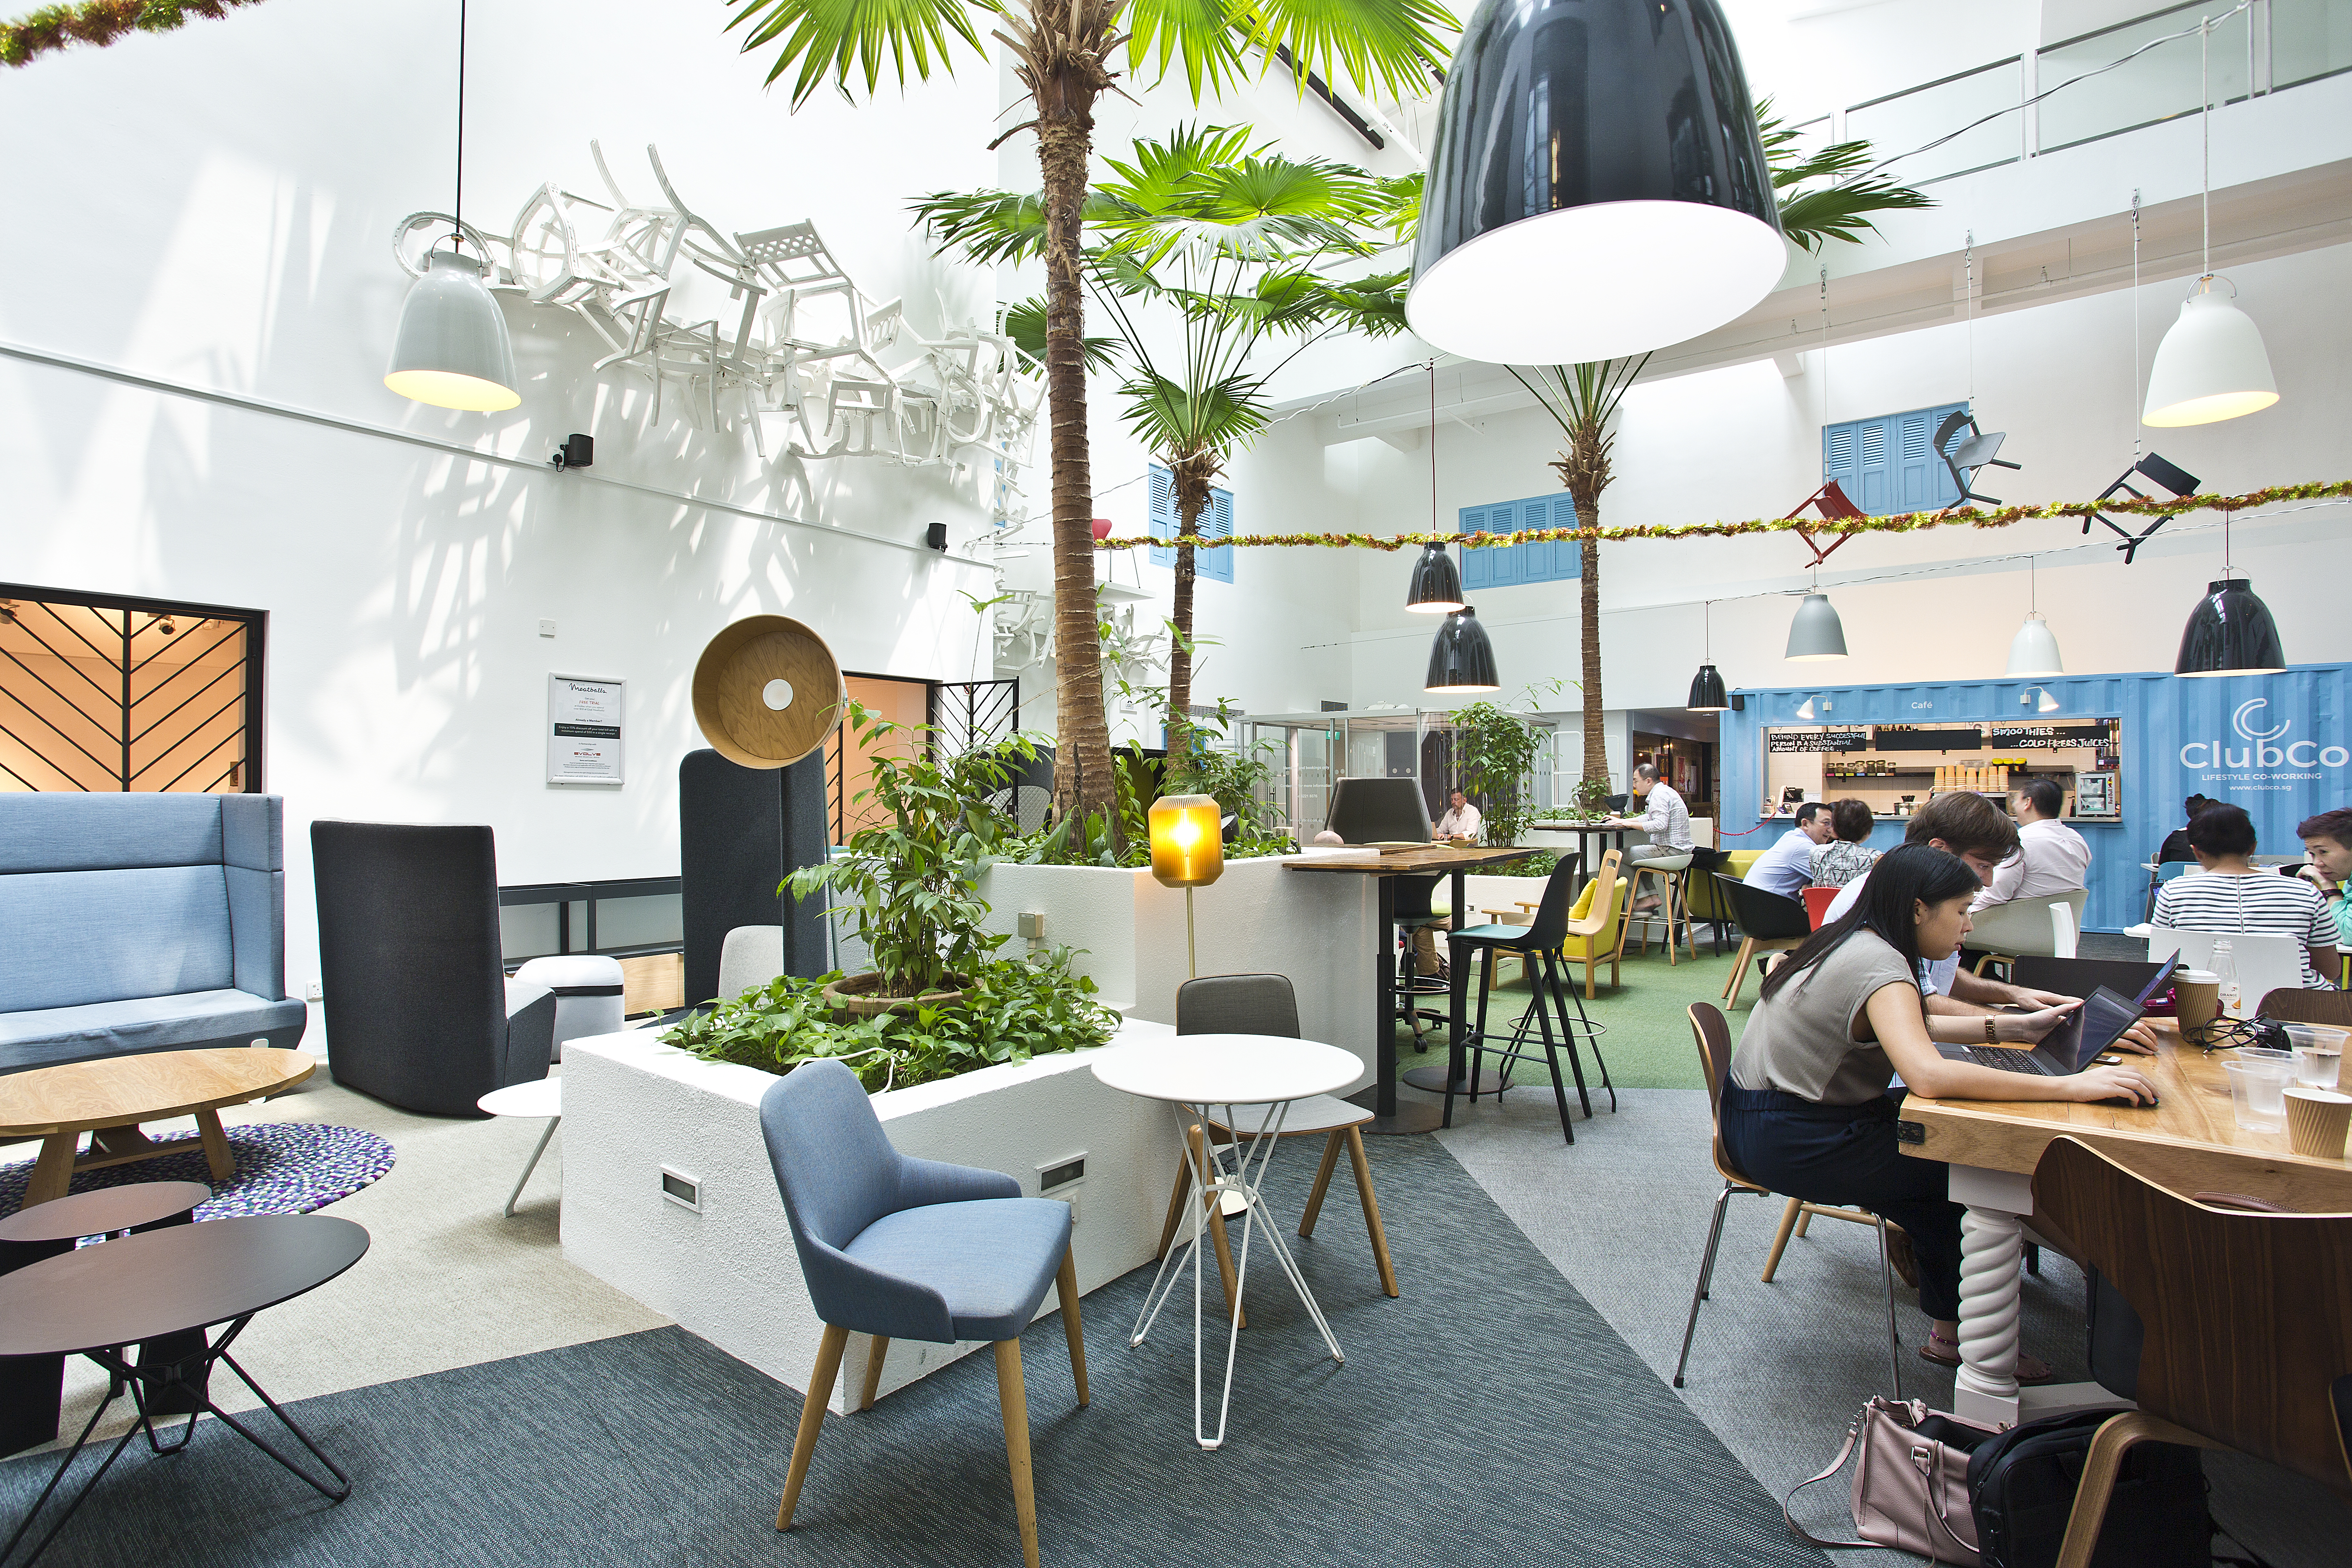
Studies show that plants significantly increase workspace satisfaction, productivity, and perceived air quality. Office spaces are filled with artificial elements from furniture material to technology, where a computer screen is the focal point. It’s good to bring in a bit of nature to balance it out and create a more welcoming environment. Interior designers have even gone as far as increasing the woodgrain and other natural textures and colors of office spaces. Low-maintenance succulents and other indoor plants have also increased in popularity over the recent years as the public began to pay more attention to workspace interior design. This shows how important nature is to our well-being.
Human Element

Rather than capturing an empty office space, liven up your photos by literally populating the space with people in order to stage a realistic work environment. Adding a few well-dressed people to your photos gives it an extra-professional touch. Remember to focus on the interiors, not the people.
Flash is the Enemy

Please don’t.
There’s no better way to upstage existing lighting and bring out dust particles like turning on your built-in flash. Unless you’re going for the aesthetics of an amateur horror film, it’s best to turn off your flash.
Best Lighting: Bright Sunny Day
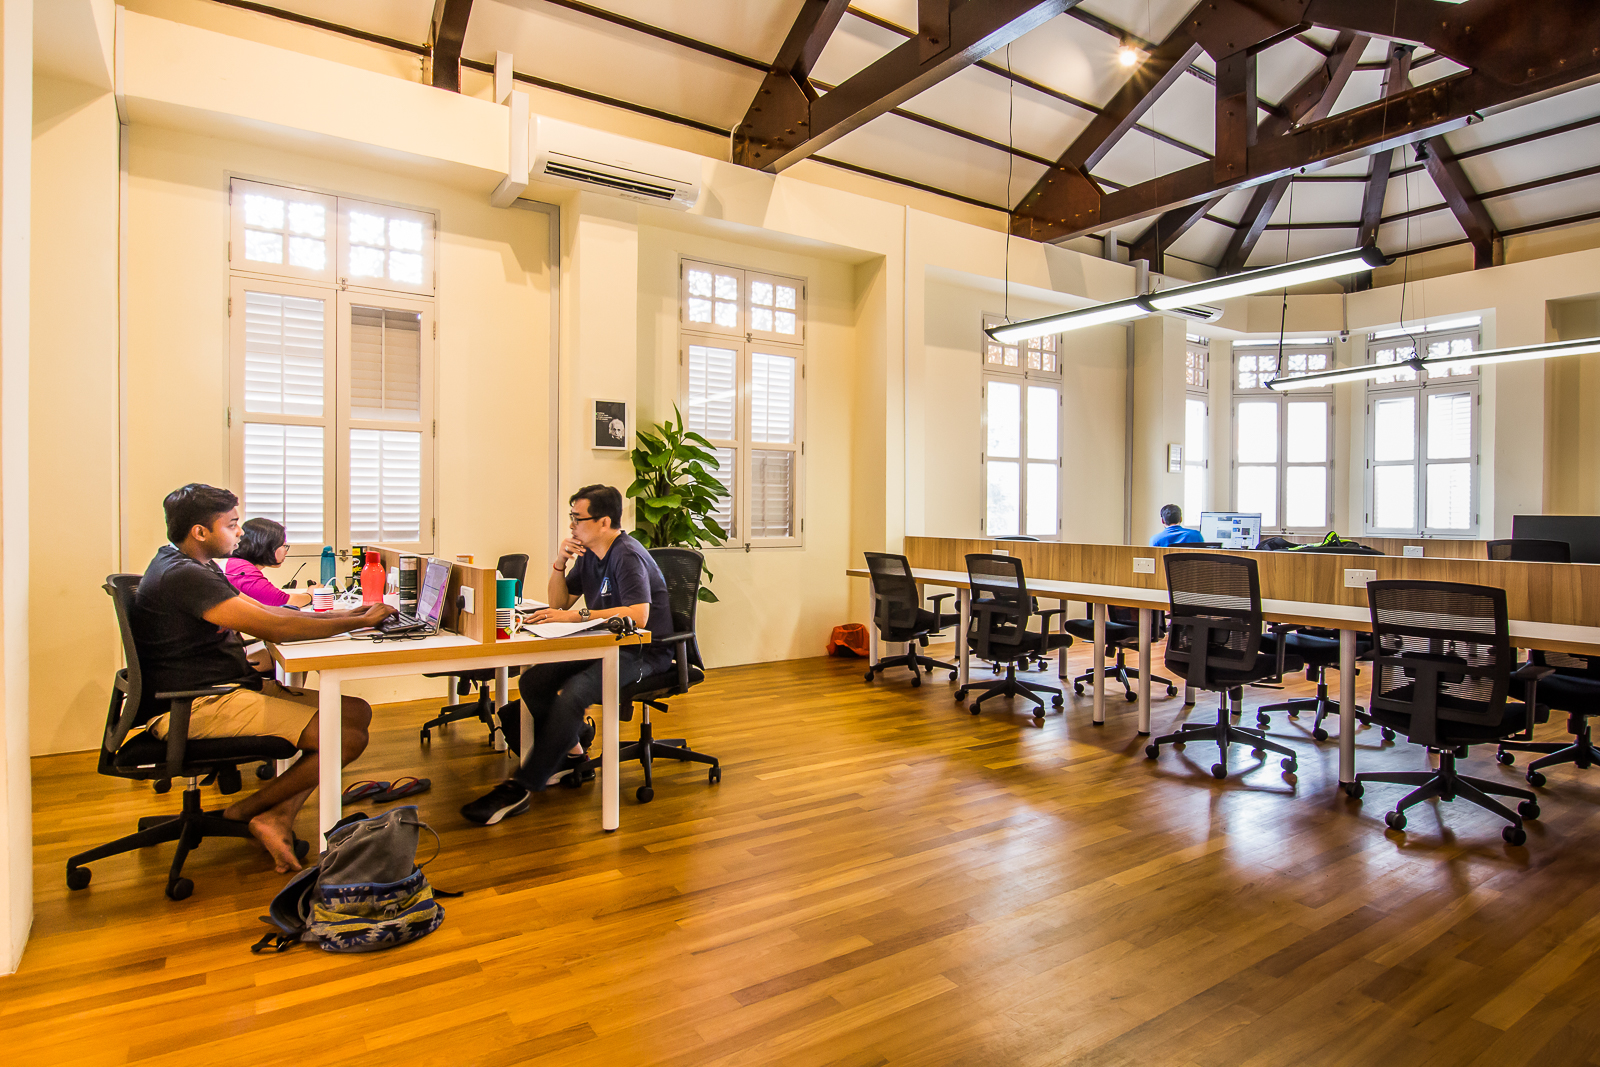
Lighting an office space is easy and straightforward compared to lighting other spaces that require you to capture mood and ambiance (e.g. cafe, hotels, mansions). For office spaces with windows, it is important to schedule the shoot on a bright sunny day. Daytime lighting simulates a good high-energy workday and showcases the view outside. An office space with a good view and bathed in natural light is a big selling point. Avoid setting up a shoot on a dreary overcast or rainy day. Sure you may be able to bump up the brightness of your image in the settings, but doing so sacrifices image quality and integrity. Sunlight is free, so make the most of it!
Go Vertical
Mind the vertical lines such as walls, corners, columns, and windows. Keep the camera facing straight ahead; try not to tilt up or down unless you absolutely have to. If you need to capture a higher or lower point in the room, adjust the camera height instead.
Go Diagonal
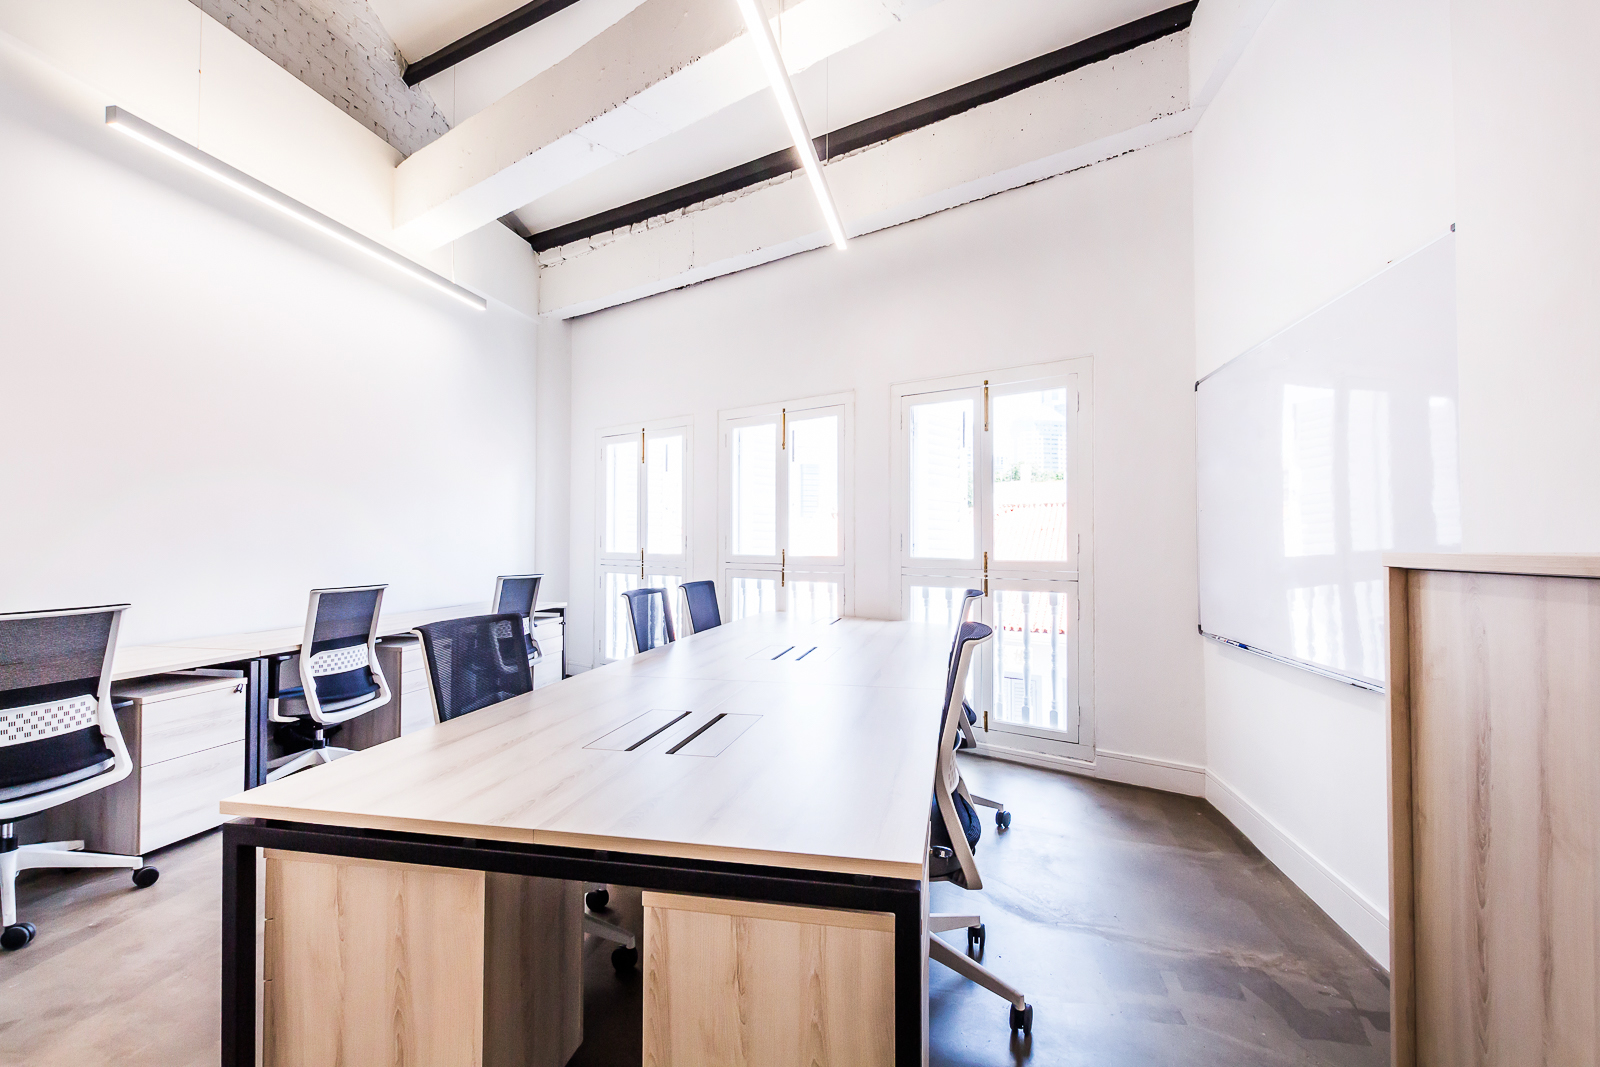
A popular technique in interior photography is to shoot from the corner of the room. The angle helps capture the most from the space making it appear wider. Shooting with your back to a wall can make the space look flat whereas capturing an image from the corner of the room adds depth and dimension. Don’t forget about the vertical lines!
We hope these tips will help you boost your space listing! At the end of the day, our advice will not be able to replace the work of photographers who specialize in interior photography. They have the skillset, experience, equipment, and software to produce high caliber results. As your business grows, don’t forget to invest in experienced creatives. It will be worth the money. Good luck!

Comments (0)
Subscribe via e-mail